Create a Lens (Quick Start)
To create your own Lens, you’ll need a domain name (a subdomain can work!) and a hosting provider.
The process is simple and takes about 10-30 minutes to complete depending on your comfort level with the command line.
We plan to offer affordable Lens hosting services later.
We will also be open sourcing software to allow anyone to run their own Lens hosting provider.
We suggest using Hetzner or DigitalOcean, but just about any provider will work.
You can also self-host your own Lens, but you’ll need to be comfortable with the command line and have a basic understanding of how to set up a server.
Setting up your domain
Point your domain name or subdomain at your server’s IP address using an A or AAAA DNS record.
You can check with your hosting provider for information on how to do this, or ask us for help.
Preparation
You’ll need to do a little bit of prep work before you begin.
Dependencies
Before installing Flagship, you must install the following dependencies:
sudo apt install libnss3-dev libgtk-3-0 libgbm1 libasound2-dev libatk1.0-0 node-pre-gyp git curlNode.js
You’ll also need to install Node.js.
We suggest using the NodeSource installation guide.
- Download and import the Nodesource GPG key
sudo apt-get update
sudo apt-get install -y ca-certificates curl gnupg
sudo mkdir -p /etc/apt/keyrings
curl -fsSL https://deb.nodesource.com/gpgkey/nodesource-repo.gpg.key | sudo gpg --dearmor -o /etc/apt/keyrings/nodesource.gpg- Create deb repository
echo "deb [signed-by=/etc/apt/keyrings/nodesource.gpg] https://deb.nodesource.com/node_22.x nodistro main" | sudo tee /etc/apt/sources.list.d/nodesource.list- Run apt update and install the Node.JS package
sudo apt-get update
sudo apt-get install nodejs -y- Download the official pnpm installation script:
curl -fsSL https://get.pnpm.io/install.sh | sh -- Source your .bashrc file so your system recognizes pnpm’s path properly (or zshrc for Zsh users, etc.):
source ~/.bashrcGit
You’ll need to install Git. Most systems will come with it already, but if not, you can install it with:
sudo apt-get install git -yInstalling the Lens Node
Use pnpm to install the Lens Node.
pnpm install -g @riffcc/lens-nodeIf prompted, also run pnpm approve-builds -g to allow dependencies to be built properly.
wings@blackberry:~$ pnpm approve-builds -g
✔ Choose which packages to build (Press <space> to select, <a> to toggle all, <i> to invert selection) · @ipshipyard/node-datachannel, better-sqlite3, classic-level
✔ The next packages will now be built: @ipshipyard/node-datachannel, better-sqlite3, classic-level.
Do you approve? (y/N) · true
.pnpm/@ipshipyard+node-datachannel@0.26.6/node_modules/@ipshipyard/node-datachannel: Running install script, done in 98ms
.pnpm/better-sqlite3@11.10.0/node_modules/better-sqlite3: Running install script, done in 71ms
.pnpm/classic-level@3.0.0/node_modules/classic-level: Running install script, done in 46ms
Configuring your Lens
Setup your Lens Node: The first step is to initialize your node. This will create a data directory, generate necessary cryptographic identities, and create a configuration file.
lens-node setupThis command will:
- Create a directory at
~/.lens-node(or a custom path if specified with--dir). - If the directory already exists, it will prompt you to confirm reconfiguration.
- Initialize a Peerbit client and a Lens Site.
- Save the configuration, including the Lens Site address, to
config.jsonwithin the data directory. - Print important details like your Peer ID, Public Key, and Site Address.
🐉You may see a warning about “The node directory “/home/$USER/.lens-node” already exists” even if you’ve never created a Lens before.
This is a bug in the Lens node, and can be safely ignored when creating a Lens for the first time. It will be fixed in a future release.
Simply answer “Yes” to the prompt, and the setup will continue.
Here’s an example of the output:
wings@blackberry:~$ lens-node setup
✔ The node directory "/home/wings/.lens-node" already exists. Do you want to reconfigure for setup? This action is irreversible. Yes
Node directory cleared and ready for new configuration at: /home/wings/.lens-node
[Site] Access controllers open: 334.832ms
[Site] Data stores open: 114.121ms
[Site] Total open time: 449.201ms

Lens Node setup complete!
--------------------------------------------------
Node Directory: /home/wings/.lens-node
Configuration saved to: /home/wings/.lens-node/config.json
Peer ID: 12D3KooWAo2AC2Aga6gxon6Fd8jXMoxRtBkQrBBK3hsuQs3wtnNT
Node Public Key: ed25119p/0e837b3358453b3384ba0a86701e440e79b009fba4f010b0a944f054df21b8c8
Site Address: zb2rhjCvmPfrgmgjGvnsYLQpzwbLGgvDWs2AsJp5qN4Zxwt7Z
--------------------------------------------------
You can now run your node using: lens-node run
Save the Site Address, as you’ll need it later. (You can always find it in
~/.lens-node/config.jsonif you forget.)- Create a directory at
Start your Lens Node: To start your node, run:
lens-node runThis will start the node daemon, connect to the Peerbit network, and open your Lens site. An interactive terminal will open, and you can use it to manage your node.
We suggest running the node in a screen or tmux session, so that it keeps running in the background if you close the terminal.
Copy the
wslistening address for later usage - for example,/ip4/127.0.0.1/tcp/8002/ws/p2p/12D3KooWAo2AC2Aga6gxon6Fd8jXMoxRtBkQrBBK3hsuQs3wtnNT.
Installing Flagship
Clone Flagship’s GitHub repository:
git clone https://github.com/riffcc/flagship.gitMove into Flagship’s directory and set up its installation dependencies:
cd flagship
pnpm install
Copy the
.env.examplefile to.env:cp .env.example .envEdit the
.envfile to set theVITE_SITE_ADDRESSvariable to the Site Address you saved earlier. Set theVITE_BOOTSTRAPPERSvariable to thewslistening address you copied earlier.Run the application in development mode (with hot reloading):
pnpm watch:webVisit the application in your browser at
http://localhost:5175/#/account.You should now see the Flagship application.
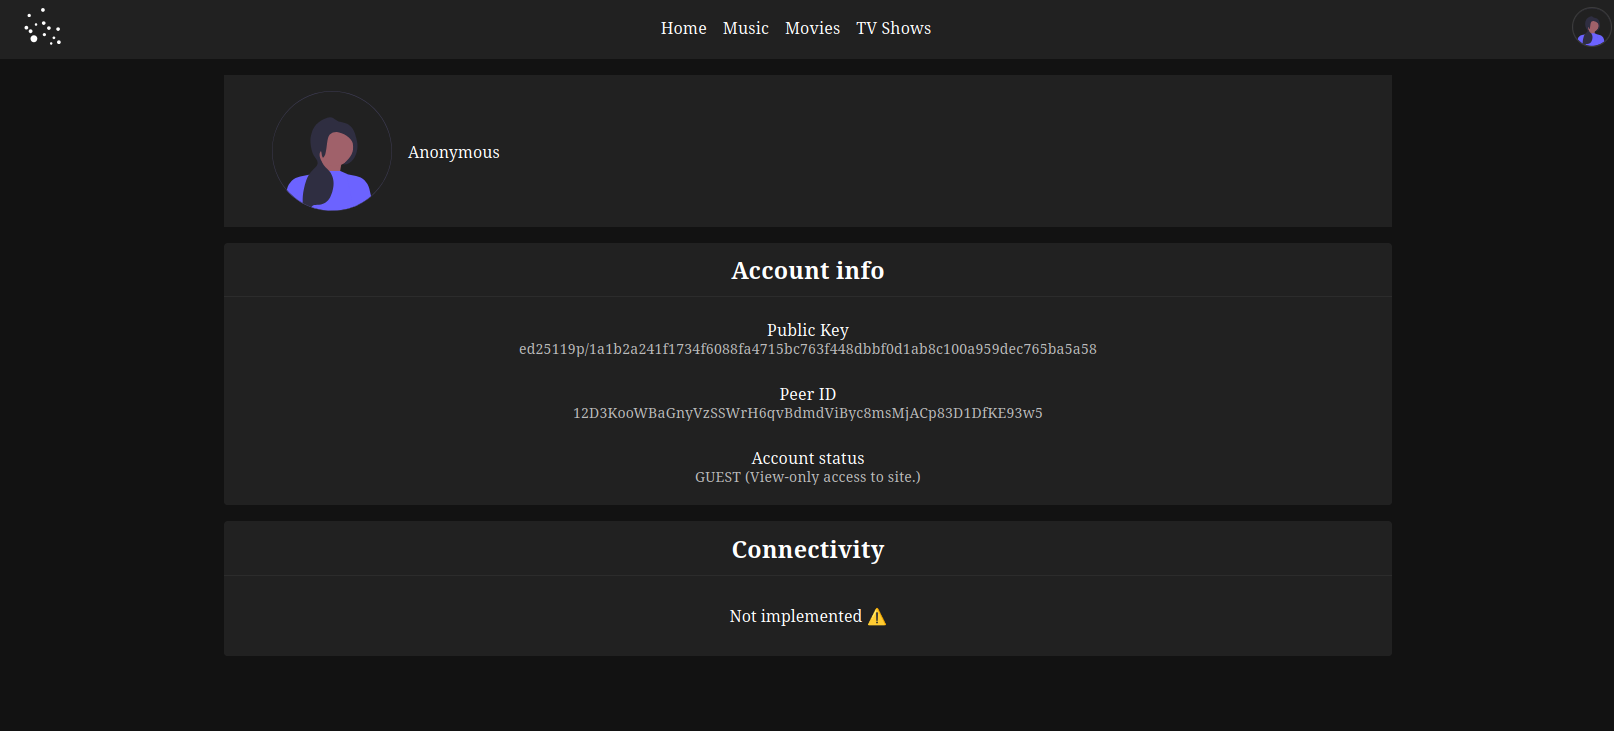 🐉You may safely ignore the “Not implemented” warning at the bottom of the page.
Click the public key underneath the “Public Key” heading to copy it to your clipboard.
Creating an admin account
On the server hosting your Lens, go to the > Authorize an account action.
Lens Node is running. Press Ctrl+C to stop OR use the menu below.
--------------------------------------------------
Node Directory: /home/wings/.lens-node
Peer ID: 12D3KooWAo2AC2Aga6gxon6Fd8jXMoxRtBkQrBBK3hsuQs3wtnNT
Node Public Key: ed25119p/0e837b3358453b3384ba0a86701e440e79b009fba4f010b0a944f054df21b8c8
Site Address: zb2rhjCvmPfrgmgjGvnsYLQpzwbLGgvDWs2AsJp5qN4Zxwt7Z
Listening on: [
  "/ip4/127.0.0.1/tcp/8002/ws/p2p/12D3KooWAo2AC2Aga6gxon6Fd8jXMoxRtBkQrBBK3hsuQs3wtnNT",
  "/ip4/127.0.0.1/tcp/8001/p2p/12D3KooWAo2AC2Aga6gxon6Fd8jXMoxRtBkQrBBK3hsuQs3wtnNT"
]
--------------------------------------------------
? Actions: (Use arrow keys)
❯ Authorise an account
 ──────────────
  Manage Subscriptions
 ──────────────
  Shutdown Node
Press Enter, then paste the public key you copied earlier:
✔ Actions: Authorise an account
✔ Enter the string public key of the account: ed25119p/1a1b2a241f1734f6088fa4715bc763f448dbbf0d1ab8c100a959dec765ba5a58
? Select the account type (Use arrow keys)
❯ Member
  Admin
Select “Admin” with the arrow keys, then press Enter.
You should see a success message:
2025-07-15 23:13:41.822 [info] Account authorized successfully
{
  "publicKey": "ed25119p/1a1b2a241f1734f6088fa4715bc763f448dbbf0d1ab8c100a959dec765ba5a58",
  "accountType": "Admin"
}
Refresh the Flagship application in your browser. You should now be an “Admin” and see the “Admin” tab.
Managing your Lens
Adding content to your Lens
It’s time to upload your first piece of content! As an example, we’ll upload the RiP: A Remix Manifesto movie, a legally free documentary about remix culture.
Click the “Upload” button in the top menu.
Enter a name, such as “RiP: A Remix Manifesto”.
Enter a Content CID, in this case “QmTWWUmvC9txvE7aHs9xHd541qLx3ax58urvx3Kb3SFK2Q”.
Select the “Movies” category.
Set the Thumbnail CID to “Qmb3eeESRoX5L6NhTYLEtFFUS1FZgqe1e7hdBk2f57DUGh”.
Click the “Upload” button.
You should now see the movie in your Lens if you go to the “Movies” tab.
Featuring content
You can feature content to make it appear on the front page of your Lens.
Click the “Admin” tab in the top menu.
Click the “Content” tab in the left menu of the admin panel.
Click the “Feature” button next to the movie you uploaded (the star with a plus sign).
You’ll be taken to the New Featured Releases page.
The “Promoted” slider will be set to “Yes” by default. Promoted content will appear in the hero slider on the front page, whereas normal featured content will still appear on the front page but with less emphasis.
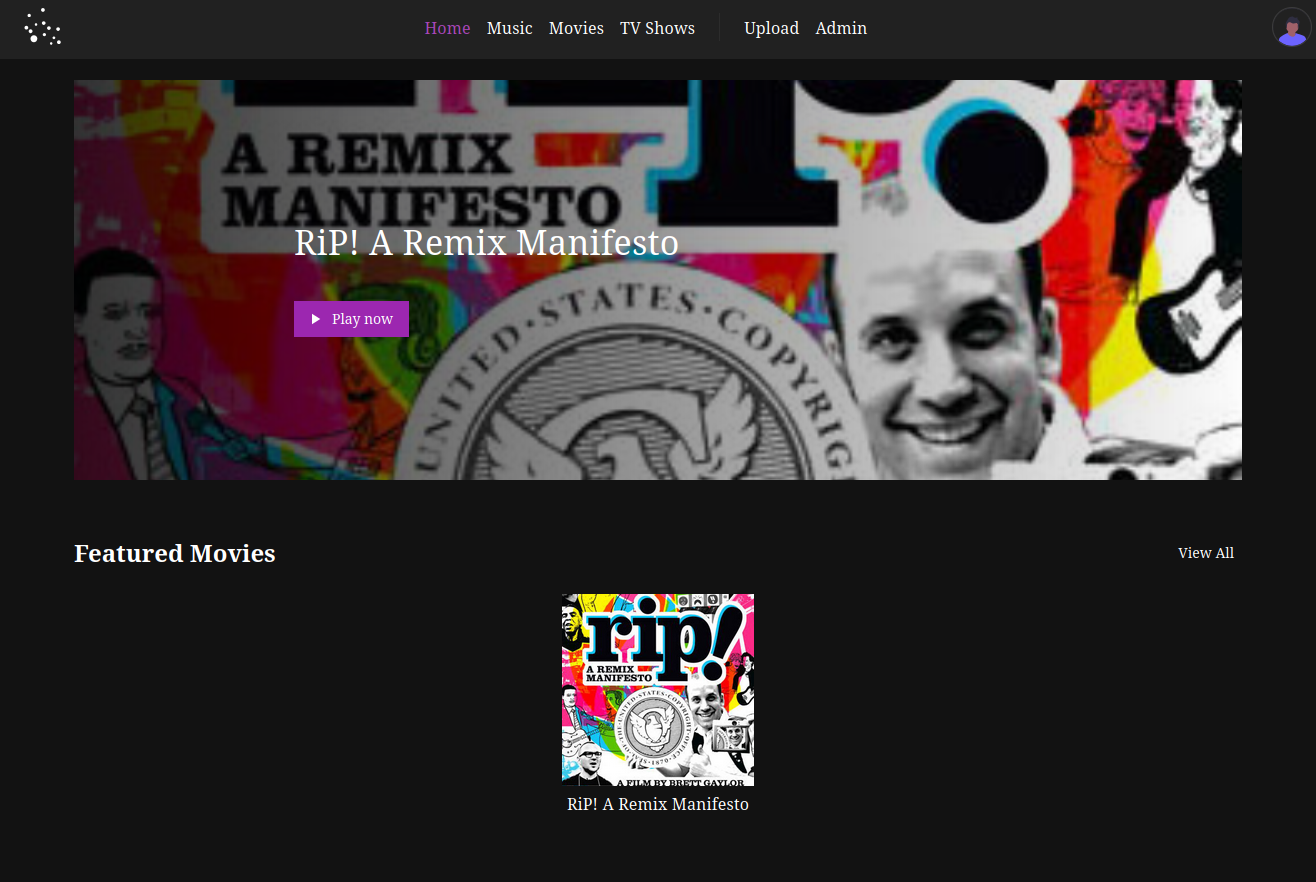
- Click the “Create” button to create the featured release.
You should now see the movie on the front page of your Lens!
Adding details to a featured release
You can add more details to the featured release by clicking the “Edit” button next to the featured release, then clicking the “Advanced” tab.
This will allow you to add a description, tags, and other details to the featured release.
You can also add a banner image to be displayed instead of the thumbnail CID when a featured release is promoted on the hero slider.
Next steps
Join our community
We have a Discord server where you can ask questions, share your Lens, and get help from the community.
Follow a Lens (Optional)
One of the best parts of running a Lens is being able to follow other Lenses and see their content.
Simply copy the Site ID of the Lens you want to follow, and go to the Admin section of your Lens, then Subscriptions.
Paste the Site ID of the Lens you want to follow, and click Subscribe.
zb2rhoGguxQaNZy47DvRPLRmpT84mwvwuvekUhmCgF7nkhTCn, if you want something to follow.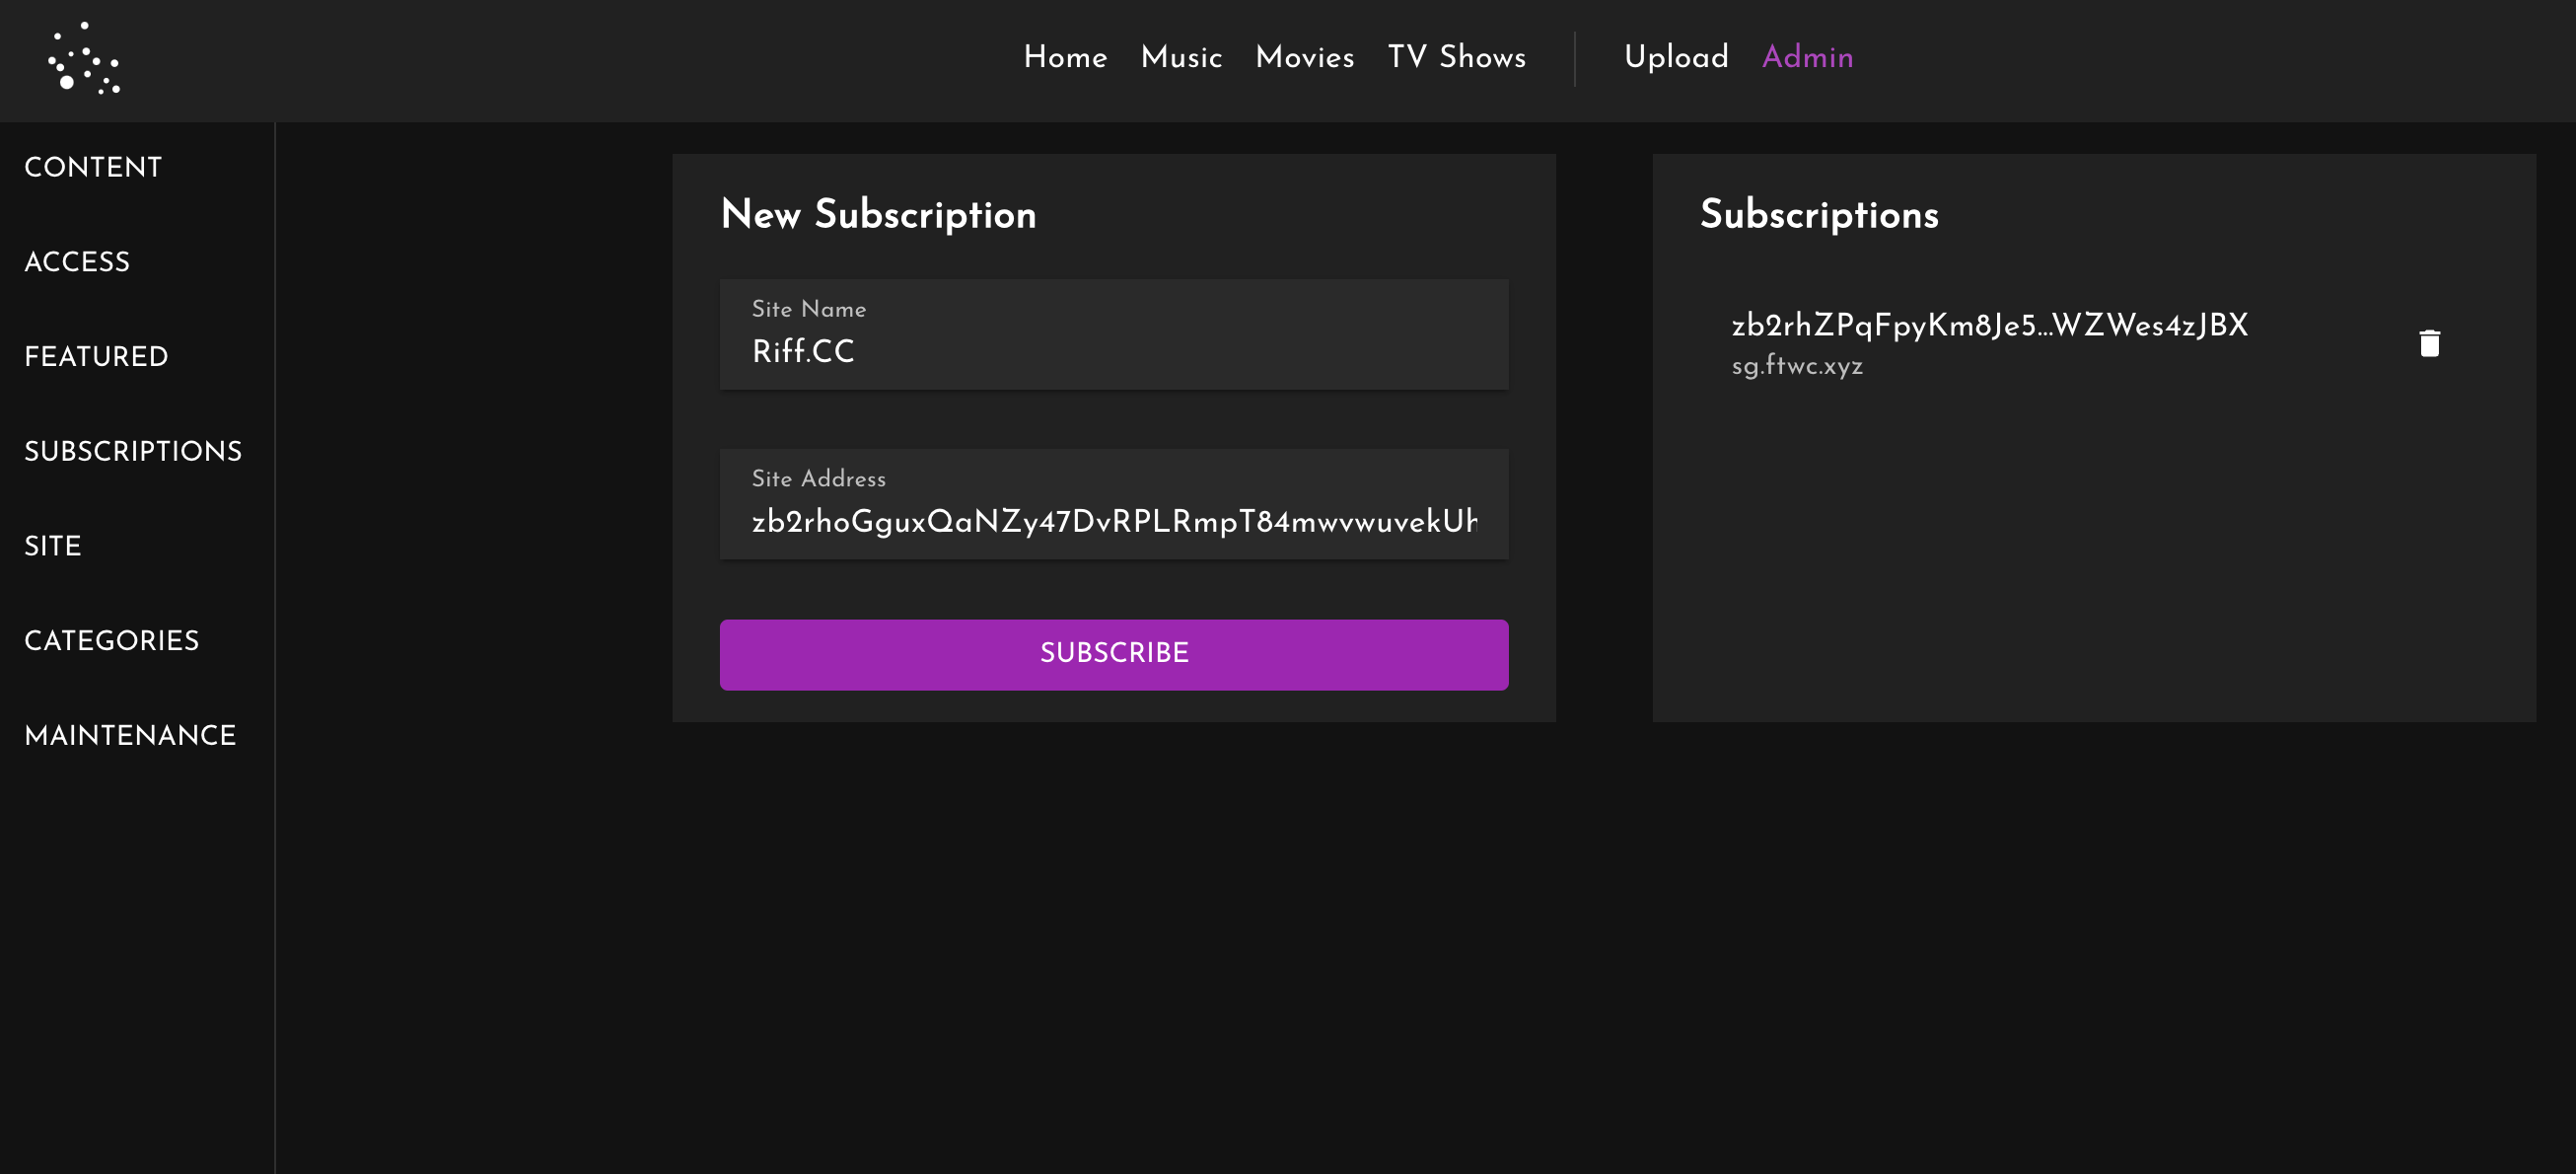
After adding it, you’ll see it appear in the list of subscriptions.
Once you’ve added the subscription, the content of the followed Lens will appear in your Lens.
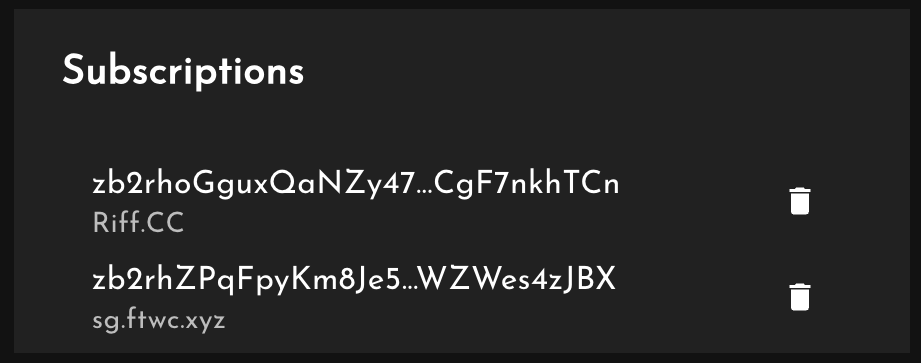
To unfollow a Lens, simply click the trash icon next to the Lens you want to unfollow.